Table of Contents[Hide][Show]
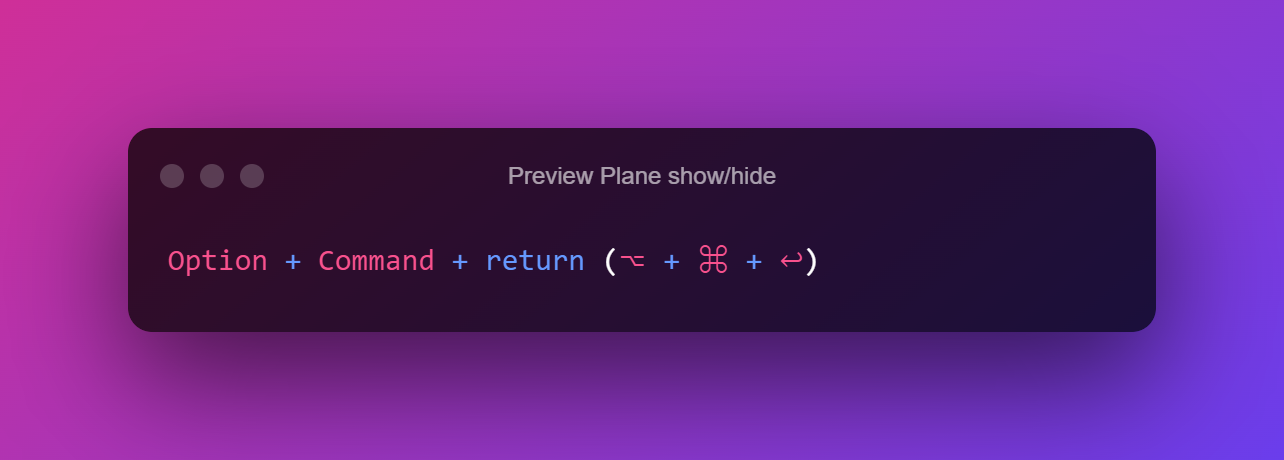
- 1. Preview Plane show/hide
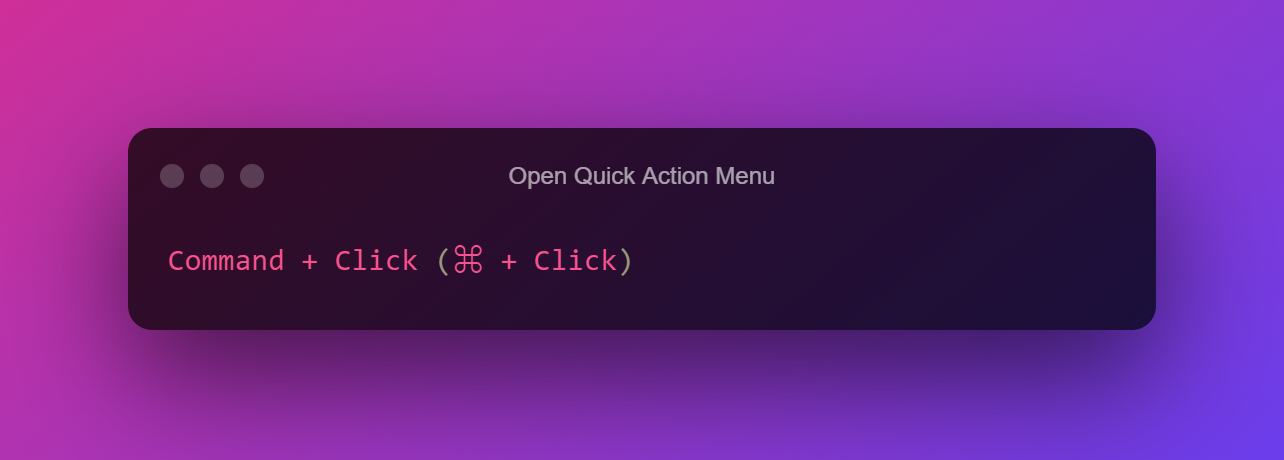
- 2. Open Quick-Action Menu
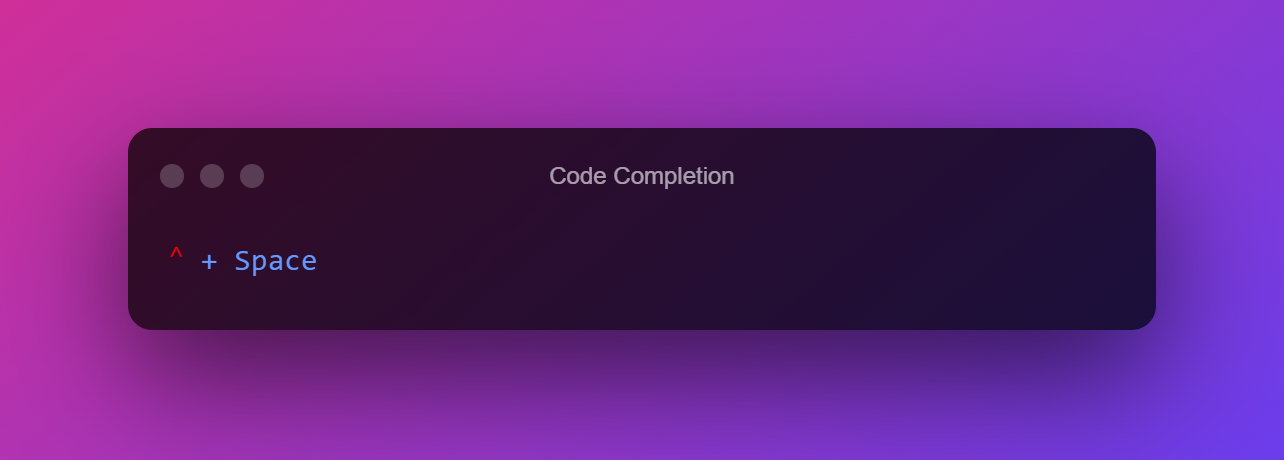
- 3. Completion of code
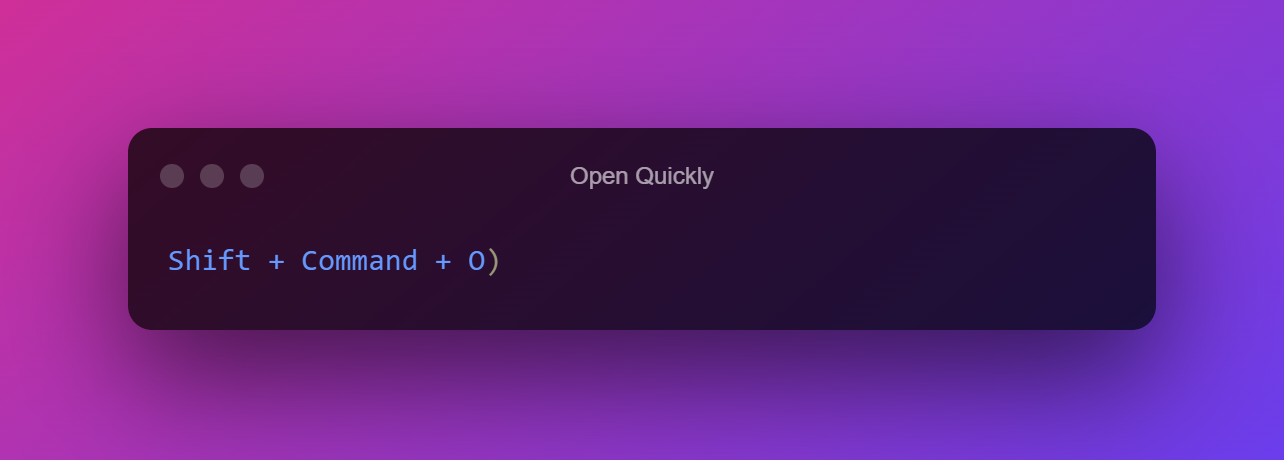
- 4. Open Quickly
- 5. Clean
- 6. Preview Destination of Devices
- 7. Find the Call Hierarchy
- 8. Switch between Toggle canvas or SwiftUI preview
- 9. Find any text in the whole project
- 10. Show Hide/Utilities
- 11. Debug Area (Show/Hide)
- 12. Re-indent Code
- 13. Directly go to the definition
- 14. SwiftUI resume the preview
- 15. Show Inspectors of SwiftUI
- Conclusion
As software developers, we like not just building apps, but also finding and utilizing the best tools available to do so.
We are really fortunate to work as iOS developers. We now have a new programming language in our toolbox with SwiftUI. With the instruments, we have, we are well-equipped for the future.
We do, however, like working effectively with the tools we have. Using keyboard shortcuts is a simple technique to boost our productivity and write more code.
So, all you need to know in Xcode are the applicable keyboard shortcuts – the ones that are unique to every other editor you’ve used.
You’ll find the lesser-known swift keyboard shortcuts on this page, so you can boost your productivity even more. Let’s begin.
1. Preview Plane show/hide
This might also happen if you’re on the go with only a little MacBook screen. Fortunately, the identical keyboard shortcut is available:
2. Open Quick-Action Menu
When you have a team and one member prefers to develop SwiftUI views in code while another prefers to utilize the visual tool, it will generate both!
Your canvas and code will never be out of sync! And with that, I’d like to present a useful keyboard shortcut for all sorts of developers. You can access the Quick-Actions menu by using the following shortcut.
3. Completion of code
Working without code completion is difficult to conceive. You’ll very certainly use it all the time to investigate APIs and save time while typing.
4. Open Quickly
You can rapidly move into any source location in your project Or workspace by using the Open quickly command. Simply start entering the name of any class, interface, function, method, enum, etc. in your project (and any SDK you imported) and a list of symbols that match the search phrase will appear in the popup.
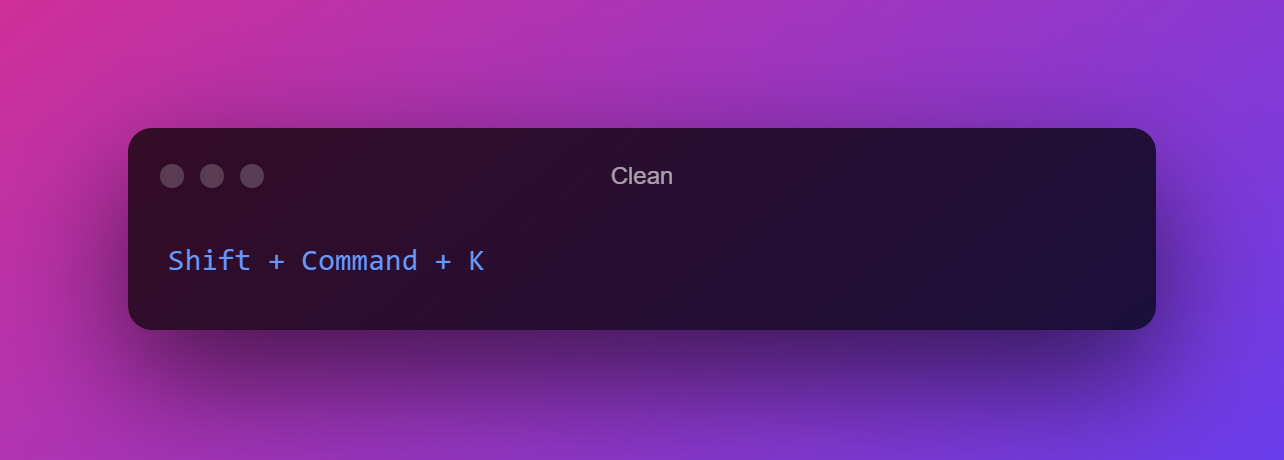
5. Clean
This is handy when you’re quite confident the code you created is okay, but something breaks when you execute it. Clean the project and rerun it; perhaps – just maybe – your code is correct. If a cleaner does not resolve your issue, you may need to display the debug section.
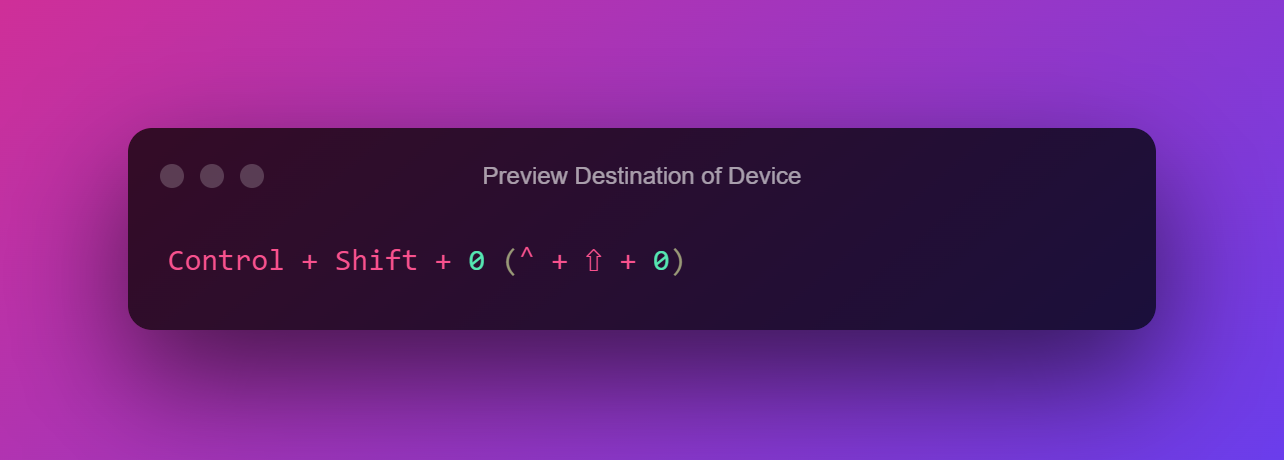
6. Preview Destination of Devices
You might wish to check out your perspective not just on the largest iPhone 13 Pro Max, but also on other smaller smartphones. To change the destination, use this handy shortcut to open the destination selection:
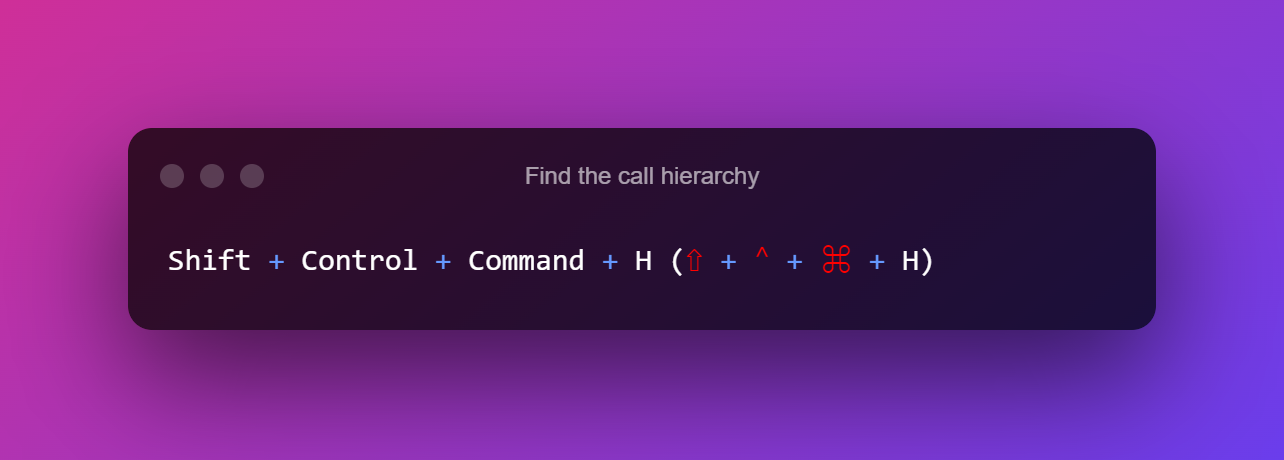
7. Find the Call Hierarchy
This shortcut will display the Call Hierarchy view, which will display any locations in your code that call the chosen method, as well as any methods that call those methods in turn, and so on.
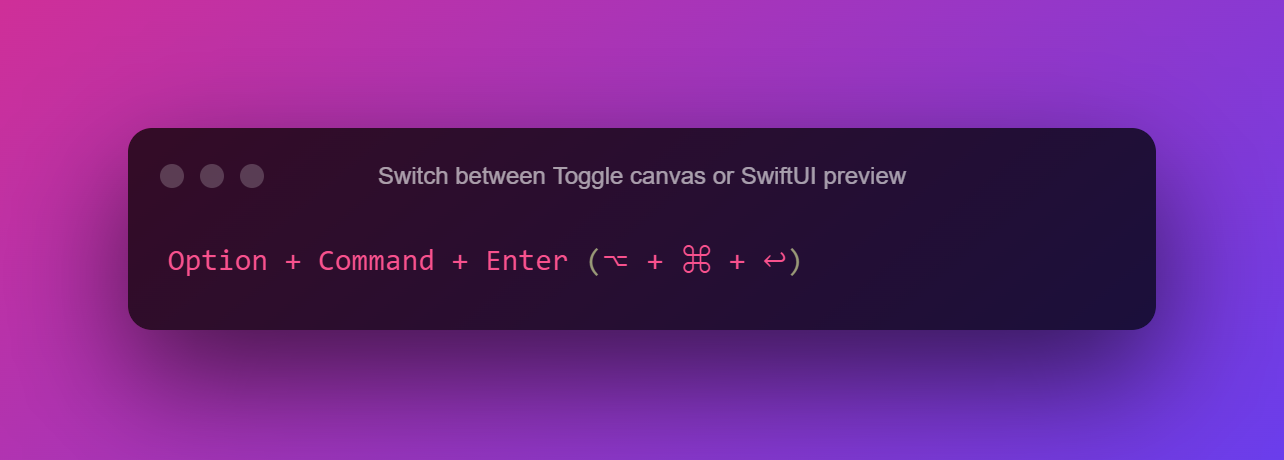
8. Switch between Toggle canvas or SwiftUI preview
Canvas gives a live preview of the UI you’re designing as you’re writing SwiftUI code. Apple has gone to great pains to make this a two-way experience, which means that any changes you make in the preview (for example, by moving or adding UI components) will also be reflected in the code editor, and vice versa.
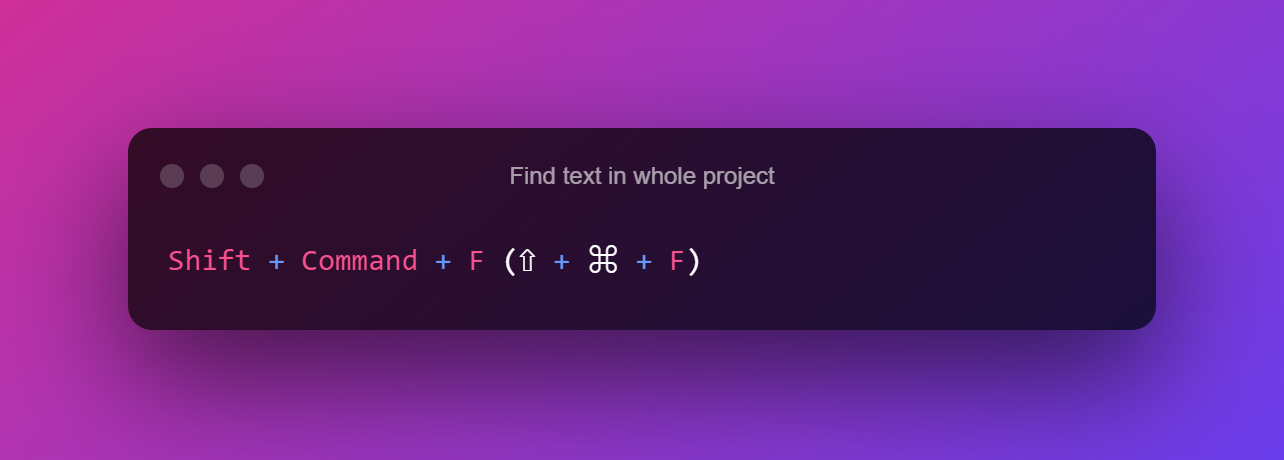
9. Find any text in the whole project
When you need to find a certain text in your project, use the following command.
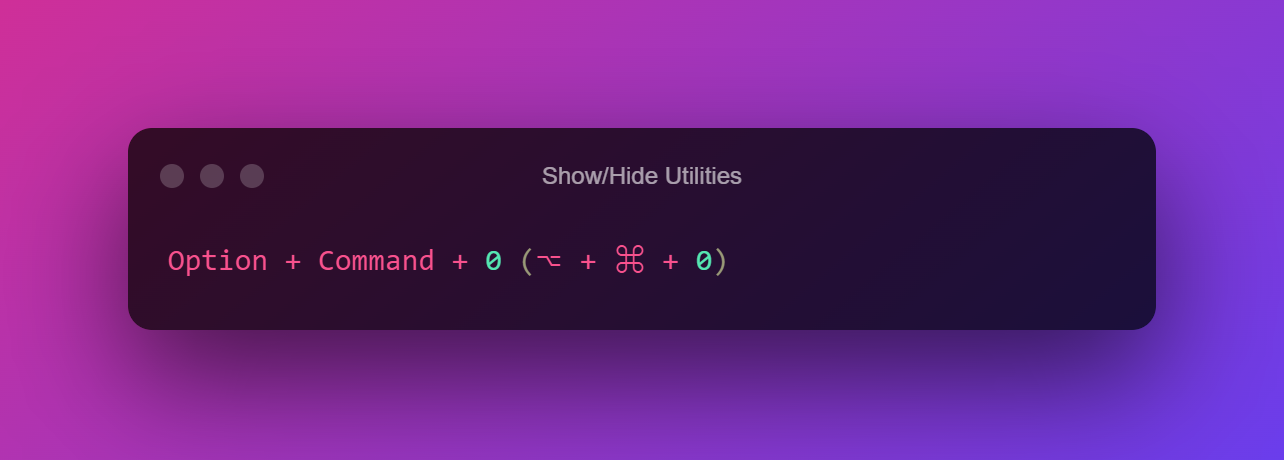
10. Show Hide/Utilities
When not in use, the utility window on the right can also get in the way. Because it’s only useful to me while I’m working on a storyboard, I use the following command to toggle it when I transition between storyboard and code files.
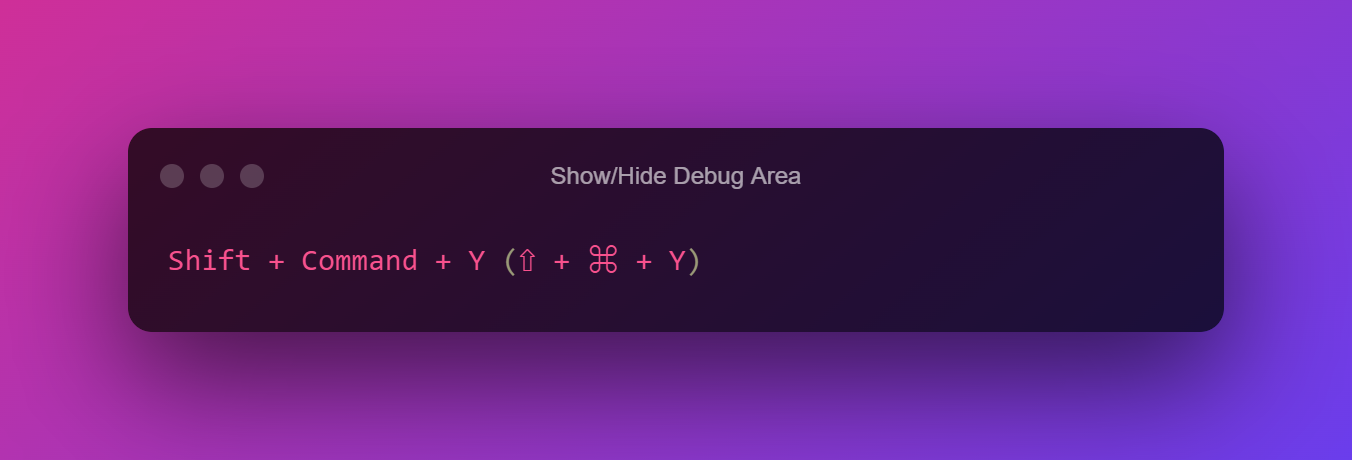
11. Debug Area (Show/Hide)
Display the debug section, which includes the variables view and console. When your program reaches a breakpoint, the variables view displays the current state of all variables in scope. You’ll see whatever you’ve logged as your program runs in the console. When you’re through debugging, use the same shortcut to hide the debug box.
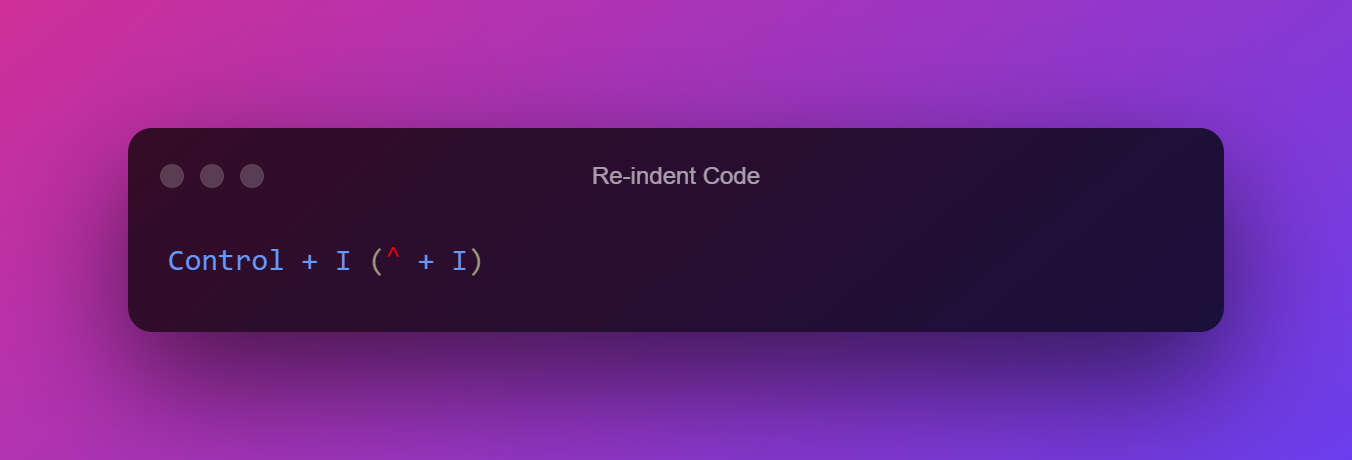
12. Re-indent Code
This is frequently referred to as “formatting code,” however in Xcode, it is referred to as “Re-Indent.” Whatever you call it, you can add the appropriate amount of space at the start of each line by choosing it and then following the instruction. You can also re-indent a single line without having to pick it first.
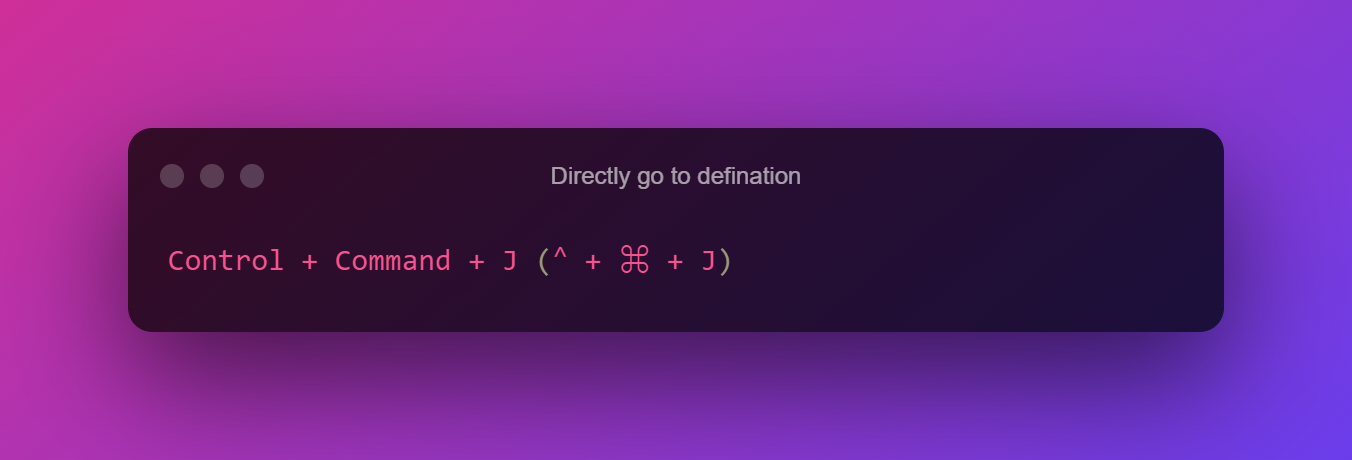
13. Directly go to the definition
This is really useful when learning new APIs or traversing an unfamiliar codebase. What exactly does ObservedObject do? Navigate to its definition to learn about its methods and attributes, the interfaces it implements, and the class it derives from.
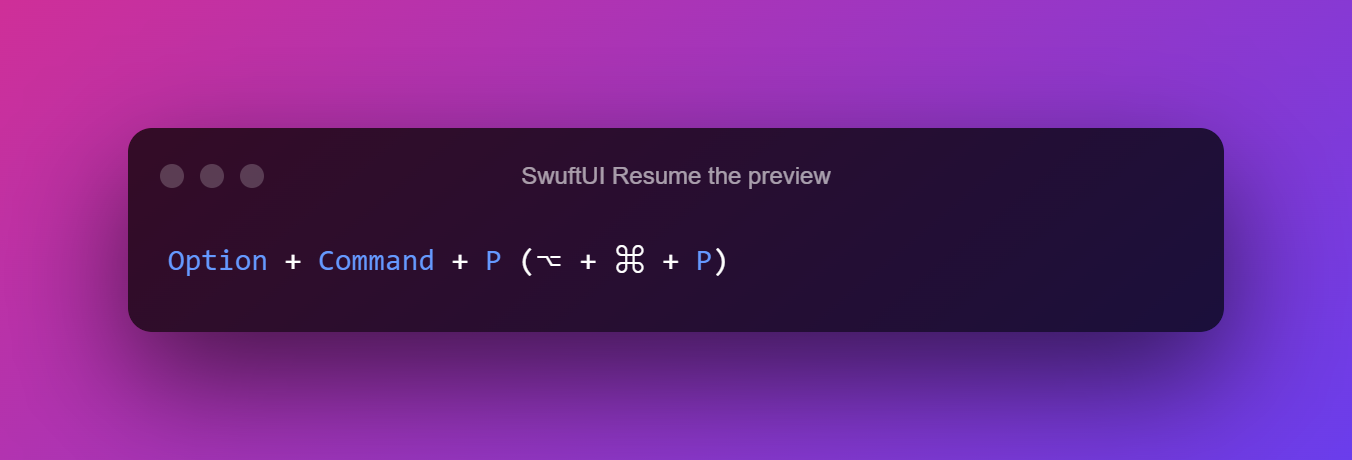
14. SwiftUI resume the preview
When you open a view, Xcode does not instantly construct it. It will instead wait until you expressly instruct it to do so. The preview can also malfunction if there are any issues in our SwiftUI code. Yes, you can resume the preview by clicking the button.
15. Show Inspectors of SwiftUI
This is yet another UIKit shortcut that we should be familiar with. The File inspector, History inspector, Quick Help inspector, and Attributes inspector are all present in every SwiftUI view. They all provide us with a number of useful features in relation to our present view.
The Quick Help inspector, for example, provides us with access to documentation regarding the current view. This is useful for utilizing built-in views such as Text, Color, and so on.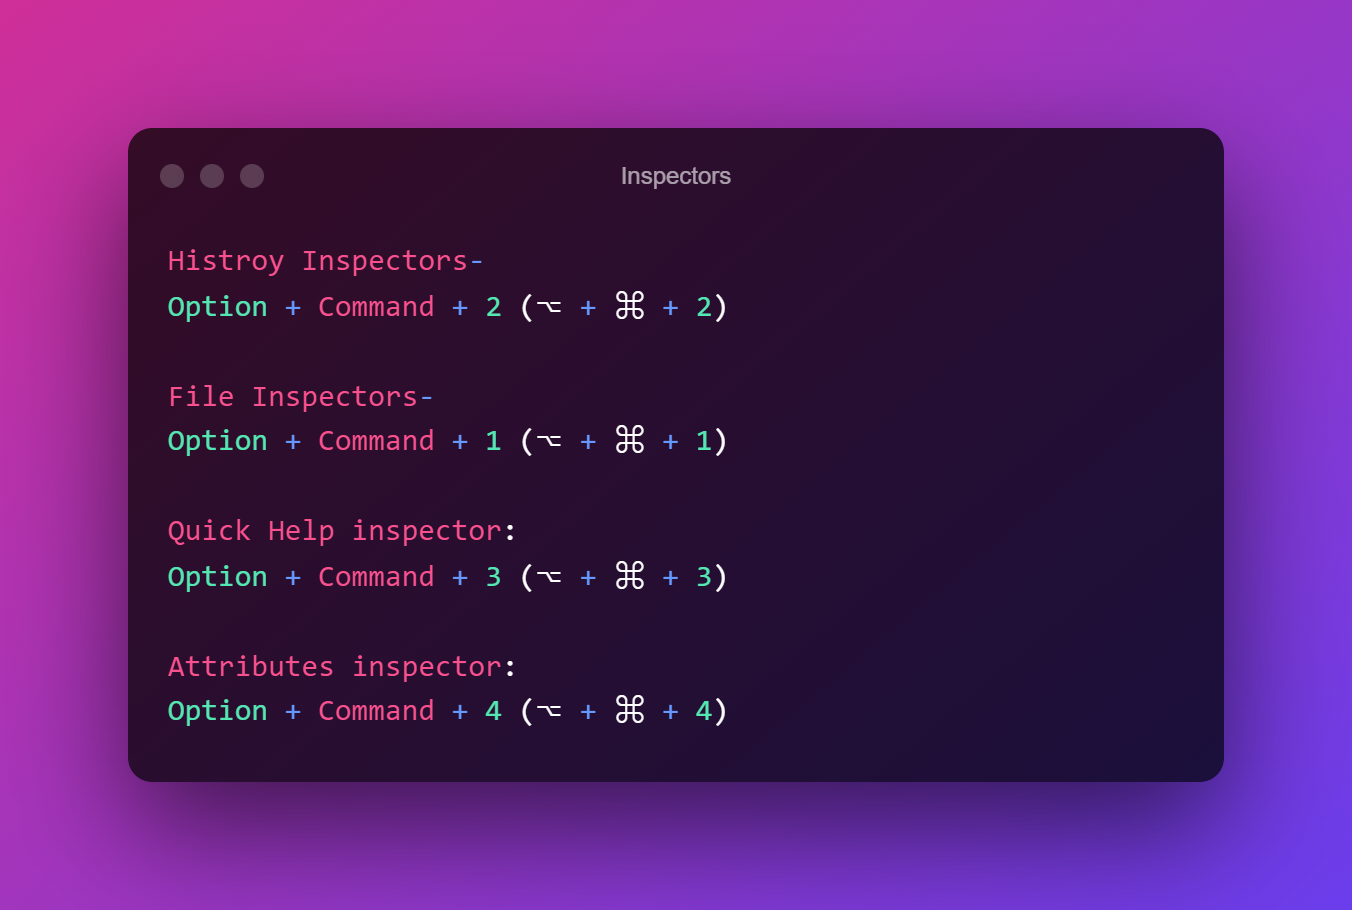
Conclusion
Even if it’s on a tiny level of productivity, keyboard shortcuts are a terrific approach to boost our efficiency.
SwiftUI is a fantastic framework that allows both developers and designers to quickly construct user interfaces.


Leave a Reply