
Table of Contents[Hide][Show]
Let us begin by defining what a distributed Web is.
Most of what you see on your browser (e.g., Chrome, Brave, Firefox, or Opera), including this article, is generated by a computer in a cool room somewhere within a vast data center.
Many small computers and phones, called clients, connect to a huge central server to download information. This is how the contemporary Web works.
We call this the Centralized Web because, as you might expect, all of the data is centralized someplace.
However, other individuals believe that having one major organization that stores, administers, and even owns data is inconvenient and often dangerous.
People instead opted to create a network in which everyone could own and share a piece of data with everyone else in the network.
As a result, instead of connecting to a single server to obtain pieces of information, computers and phones link to many individuals who control smaller bits of information. Once they have received the knowledge, they proceed to share it with others who require the same information.
The Distributed Web is what they call it.
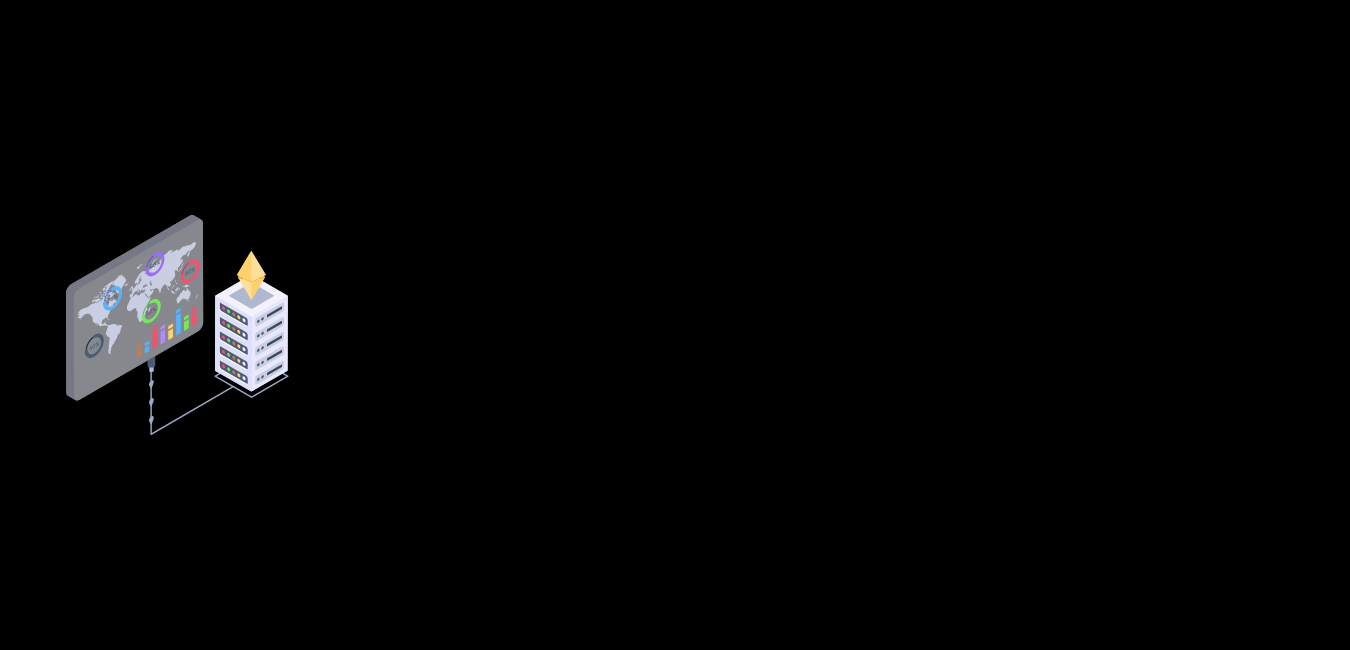
Blockchain is a distributed Web, similar to Napster or Torrent, but developed for a different reason.
Blockchain isn’t cash or a coin. It is a distributed Web for logging, storing, and sharing safe, verifiable, and unmodifiable transactions.
So, what is MetaMask?
MetaMask is a well-known browser plugin that works as a bitcoin wallet and links to the Ethereum network.
You can connect with the Ethereum ecosystem, which includes a wide array of decentralized applications (Dapps), without having to download the full blockchain to their device, thanks to MetaMask.
As a result, it’s one of the finest Ethereum wallets for quick access to decentralized exchanges (DEX), gaming as well as gambling sites, and a variety of other services.
Chrome, Firefox, Brave, and Microsoft Edge are among the most popular browsers that support the MetaMask wallet. MetaMask stores tokens based on the Ethereum protocol’s ERC-20 and ERC-721 standards, in addition to the protocol’s native currency, ETH.
Aaron Davis and the blockchain firm ConsenSys co-founded MetaMask.
The following tutorial will go through how MetaMask works, how to install and use it.
How does MetaMask work?
MetaMask is mostly used for storage, swaps, and dApp access.
These functions cover everything a typical cryptocurrency you’d need to interact with Ethereum.
Swap Tokens
It has a trade feature that allows you to do peer-to-peer (P2P) token exchanges straight from your wallet.
These swaps integrate data from numerous DEXs, DEX aggregators, and automated market makers rather than transacting through an order book, exchange, or decentralized exchange (DEX) liquidity mechanism (AMMs).
Its swaps enable you to trade cryptocurrency directly without interacting with any other custodian or intermediary, decreasing friction, limiting slippage, and saving you expenses.
Crypto Storage
The built-in crypto wallet in MetaMask can be used to store tokens based on Ethereum’s ERC-20 and ERC-721 token standards, and you can immediately create and transfer between wallet addresses within the app.
You can safely store your wallet passwords and private keys within their browser using a plugin, giving them greater control over both their public and private keys.
Furthermore, when you register for a new account, they’re given a collection of seed words that can be used to restore their account if necessary.
Dapps Access
You can also use the wallet to directly access a broad range of Ethereum-based Dapps, crypto financing products, Ethereum-powered games, NFTs, and more.
MetaMask’s built-in crypto wallet allows you to spend, transmit, or stake your crypto anywhere within the Ethereum ecosystem without having to handle other wallet integrations or superfluous transactions.MetaMask immediately offers consumers a simple access point into the world of DeFi and other blockchain-based industries and services.
It was modified in 2020 to enable connections with Binance Smart Chain (BSC).
You can now easily swap between their Ethereum and Binance crypto wallets, trade on DEXs from either network (but not at the same time), and access Dapps from both ecosystems.
While MetaMask was initially focused on Ethereum development, the move to provide access to other blockchain networks emphasizes the company’s primary objective of developing an interoperable and linked Web3 environment.
How can you install Metamask and use it on your browser?
Step 1: Visit the official MetaMask website and click on the download option.

Step 2: Select MetaMask for Chrome and click Install.

Step 3: Simply click the “Add to Chrome” button on the Metamask plugin.

Step 4: When the installation is complete, this page will appear. To get started, select the Get Started option

Step 5: As this is your first wallet, click the Create a Wallet button. If a wallet already exists, use the Import Wallet button to import it.

Step 6: Click the I agree button to enable data to be gathered to help develop MetaMask, or the No Thanks button to reject data collection. Even if you select the No Thanks option, the wallet can still be generated.

Step 7: Make your wallet password-protected. You’ll need to enter this password every time you want to use MetaMask.
If Chrome is removed or another browser is used, a new password must be set. If that’s the case, use the Import Wallet button. Because MetaMask saves the keys in the browser, this is the case. Accept the Terms of Service.

Step 8: This is the most crucial stage. Properly backup your secret word. Keep your secret word off your computer.
Before continuing, please read everything on this screen until you thoroughly understand everything.
If you forget your password, the secret phrase is the sole method to access your wallet. Click on the shadowed area that reads To obtain your secret phrase, go here to disclose hidden words. When you’re finished, click the Next button.

Step 9: Select the button that corresponds to the sequence of the words in your seed phrase. In other words, input the seed phrase onto the screen using the button. If everything is done successfully, the Confirm button should become blue.

Step 10: Congratulations, all steps are completed. You’re good to go now.

Step 11: MetaMask has been installed and you can use it on your browser.

How to use MetaMask?
As soon as the setup procedure is done, you’ll have full access to all capabilities. Now is the time to put it to work.
MetaMask, like the setup method, is simple to use.
There are two tabs in MetaMask. The first is for activities, while the second is for assets.
You can check all of the account’s actions as well as the wallet’s history on the activity page. Meanwhile, you can use the assets tab to access all of the wallet’s assets.

In addition to these two tabs, the plugin includes three buttons that can be used to conduct three distinct activities.
These are the “Buy,” “Send,” and “Swap” buttons. These activities are simple, and their names indicate what they do.
But first, let’s go over each of the options. The first option is the Buy option.
By using this button, you’ll be prompted to either buy Ether with fiat currency or deposit Ether from another wallet. The presence of Ether in the wallet is required for MetaMask to communicate with other dApps.
The Send button is the second one. This enables you to transfer funds to another wallet.
All you need is adequate crypto funds and the recipient’s address. The Swap button is the last one.
This is just a function for swapping one token for another. This enables you to change, for example, Ether for LINK or UNI.
How to Use MetaMask to Interact with Dapps and Smart Contracts?
You can begin browsing and engaging with DApps after your MetaMask wallet has been configured. Most DApps automatically connect to your wallet as soon as you get on the website, but some may require you to do so manually.
If MetaMask doesn’t connect automatically, log into the DApps, go to settings, and search for a button that says “Link your wallet,” or something similar. Simply click the button, follow the instructions, and you’re done.
Connect MetaMask with OpenSea
Step 1: Find the wallet on the official website.

Step 2: Press the wallet, and all popular wallets, including MetaMask, will appear.

Step 3: Open the MetaMask wallet and it’ll discover your account to connect with OpenSea automatically.

Step 4: Once you’ve selected the next, you’re ready to go.

If you’re new to DApps and cryptocurrency, I’ve compiled a list of prominent DApps and websites for you to check out with your new MetaMask wallet.
NFT Art Marketplace
- OpenSea – It is a well-known peer-to-peer crypto-collection and NFT marketplace.
- Rarible – It is the first NFT marketplace controlled by the crypto community.
- Nifty Gateway – It is a masterpiece and unique NFT marketplace featuring Beeple and Grimes’ works.
Crypto-Games where you can make money by playing them
- CryptoBlades: It is a blockchain-based role-playing game in which your characters and weapons are NFTs and you earn SKILL tokens for completing game tasks.
- Axie Infinity: It is an NFT-based game in which your three-Axis battle against either a computer-controlled opponent or another human player. With over a million daily members, Axie is extremely popular across the world.
- Forest Knight: It is a fantasy game that mixes mobile and blockchain gaming to provide an enjoyable and engaging experience. There are PVP and PVE combat, as well as equipment and heroes that can be obtained through NFTs.
Conclusion
It is a simple and adaptable tool for storing cryptocurrency, exchanging tokens, and interacting with dApps and decentralized services on the Ethereum blockchain.
The MetaMask team is expanding its range to include Binance Smart Chain to speed the emergence of a larger decentralized Internet beyond the limitations of the Ethereum ecosystem.
Leave a Reply